How the cloud application deploy on to the windows Azure cloud?
Deploying Application On Windows Azure Portal
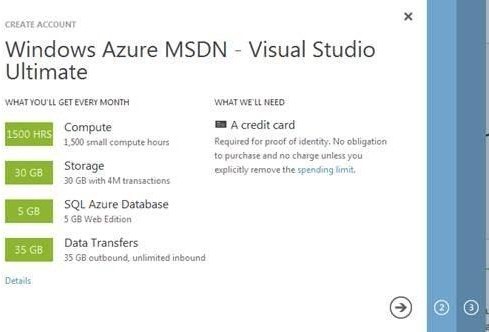
To deploy application on Microsoft Data Center you need to have a Windows Azure Account. Windows Azure is a paid service however you can start with free trial. To register for free account follow the below steps.
Register for Free Account Step 1
You will be asked to login using Live ID. Provide your live id and login. If you don’t have live ID create one to work with Windows Azure Free Trail

Next proceed through the screen to create free account.
After successful registration you will be getting a success registration message. After registration go back to visual studio and right click on Windows Azure Project and select Package.
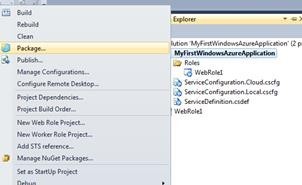
Next choose Service Configuration as Cloud and Build Configuration as Release and click Package

After successful package you can see Service Package File and Cloud Service Configuration file in the folder explorer. We need to upload these two files to deploy application on Microsoft Data Center.

You will be navigated to live login page. Provide same live id and password you used to create Free Trial. After successful authenticating you will be navigated to Management Portal.
To deploy on Microsoft Data Center, first you need to create Hosted Service. To create Hosted Service from left tab select Hosted Service, Storage, Account and CDN

In top you will get three options. Their purpose is very much clear with their name.

Click on New Hosted Service to create a Hosted service. Provide information as below to create hosted service.

Choose Subscription Name. It should be the same as your registered subscription of previous step.
Enter name of the service
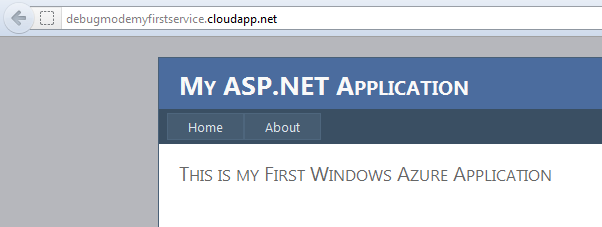
Enter URL of the service. This URL need to be unique. On this URL you will be accessing the application. So this application will be used at URL debugmodemyfirstservice.cloudapp.net
Choose a region from the drop down. In further post we will get into details of affinity group. In Deployment option choose, Deploy to production environment.
Give a deployment name.
Next to upload package select browse locally. On browsing navigate to folder YourFolderNameMyFirstWindowsAzureApplicationMyFirstWindowsAzureApplicationbinReleaseap p.publish and choose files.

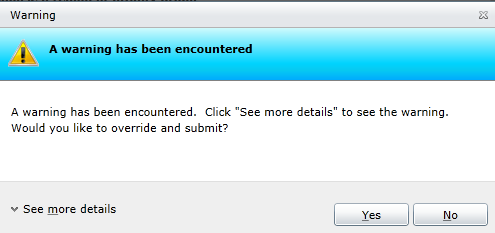
As of now for simplicity don’t add any Certificate and click on Ok to create a hosted service with package of application created in last step. You will get a warning message. Click Yes on warning and proceed.
Now you need to wait for 5 to 10 minutes to get your application ready to use. Once service is ready you can see ready status for the Web Role.
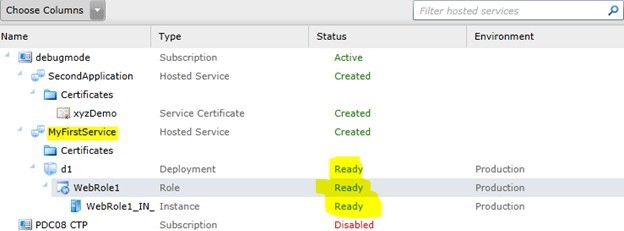
After the stats are ready, you are successfully created and deployed first web application in Windows